HM-10 Bluetooth Module: Introduction, Connection, and Usage (with Example)
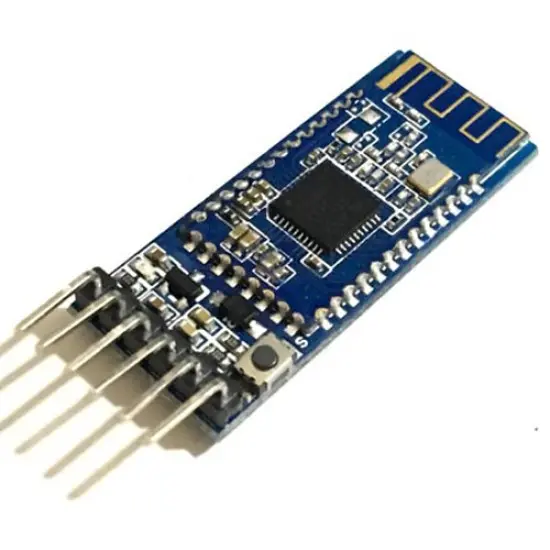
The HM-10 Bluetooth module is widely used for low-power data transfer and communication between devices. It uses the BLE (Bluetooth Low Energy) protocol, making it ideal for IoT and smart home projects. In today’s blog post, we’ll cover the features of the HM-10, how to connect it, and a sample project using Arduino.
Features of HM-10 Bluetooth Module
- Bluetooth Version: Bluetooth 4.0 (BLE)
- Operating Voltage: 1.8V – 3.6V
- Default Data Rate: 9600 bps
- UART Serial Communication: Easily connects with Arduino or other microcontrollers
- Operating Distance: Typically up to 10 meters
- Supports AT Commands: For easy configuration
Connection Steps
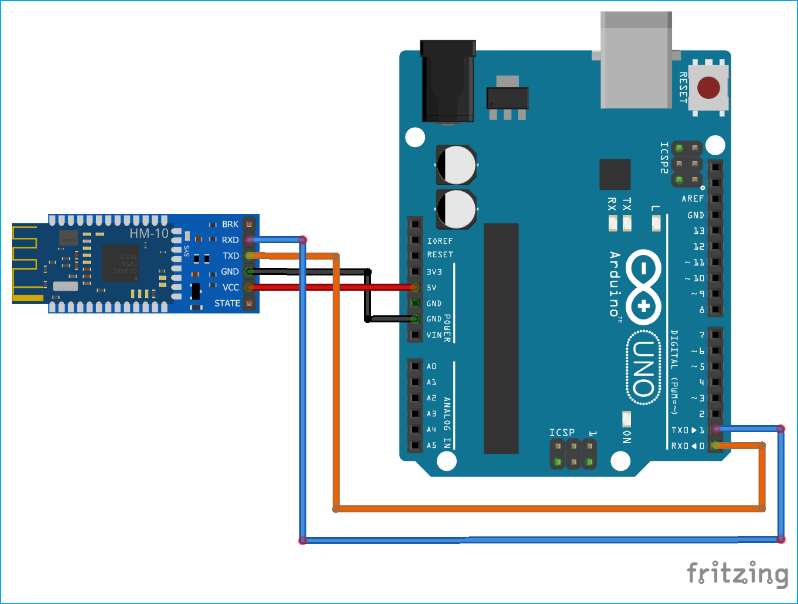
The HM-10 module is very simple to connect with Arduino, as it uses the UART communication protocol. For this, you will need the TX, RX, VCC, and GND pins of the HM-10 module and connect it to your Arduino Uno.
Pin Connections:
| HM-10 Bluetooth Module | Arduino Uno |
|---|---|
| VCC | 3.3V |
| GND | GND |
| TX | D2 |
| RX | D3 |
Note:
The HM-10 operates on 3.3V, so do not connect it to 5V directly.
Daigram
Example Arduino Code
This code uses the SoftwareSerial library to communicate with the HM-10 module via the D2 and D3 pins. It allows you to send and receive messages from the Serial Monitor.
#include <SoftwareSerial.h>

// Using D2 and D3 pins for Hm-10
SoftwareSerial BTSerial(2, 3); // RX, TX

void setup() {
  // Start Serial and Bluetooth serial
  Serial.begin(9600);
  BTSerial.begin(9600);

  Serial.println("Hm-10 Bluetooth module connected!");
}

void loop() {
  // Receiving data from Hm-10 to Arduino
  if (BTSerial.available()) {
    char data = BTSerial.read();
    Serial.print("Data received from Bluetooth: ");
    Serial.println(data);
  }

  // Sending data from Arduino to Hm-10
  if (Serial.available()) {
    char data = Serial.read();
    BTSerial.write(data);
    Serial.print("Data sent from Serial to Bluetooth: ");
    Serial.println(data);
  }
}
Explanation of the Code:
- Setup Section:
Serial.begin(9600);starts the Serial Monitor, andBTSerial.begin(9600);connects to the Bluetooth module. - Loop Section: In the first part, data from the HM-10 is read and displayed in the Serial Monitor, and in the second part, data from the Serial Monitor is sent to the HM-10 module.
Configuring Using AT Commands
You can customize the HM-10 module using AT commands. Here are some common AT commands you may use:
- AT : Test if the module is working.
- AT+NAME=name : Set the device name.
- AT+BAUD=baud_rate : Change the baud rate.
Testing the Module
- First, upload the code to Arduino.
- Open the Serial Monitor and select “9600 bps” as the baud rate.
- Use a mobile device or another BLE device to find and connect to the HM-10 module.
- Type anything on the Serial Monitor, and it will be sent to the connected device through the HM-10.
Conclusion
The HM-10 Bluetooth module is a simple and powerful solution to connect with Arduino. It consumes low power and enables seamless communication. I hope this post gives you a clear understanding of the basics of the HM-10 and how to set it up.
Stay curious, keep building, and explore new horizons in IoT and robotics!


2 thoughts on “How to Use the HM-10 Bluetooth Module with Arduino A Complete Guide”